Rendering Demo
In this tutorial we will create a demo application to showcase our sprite renderer. If you have been following the previous tutorials, this demo should be very straightforward and hopefully it will be manageable if you are jumping in here. In this demo we will be showing a set of cards that randomly rotate. When a card is done rotating its face will randomly switch to some other card.
Project Setup
Create an empty folder and inside it initialize a new go project.
go mod init demoFeel free to call it whatever you want. Create an empty .go file, again call it whatever you want and lets add some code.
Renderer Setup
We need to add some initialization code before we can draw our sprites. We will initialize the following:
- The window for our application
- The sprite renderer
- A sprite atlas to store our sprites
- A shader for shading our sprite
All of these have been covered in previous tutorials. You don’t need to understand how they are implemented to use them but if you are curious have a look at what each component does you can read the intro of the corresponding tutorial. Our initialization code is the following:
package main

import (
    "image"
    "time"

    "gitlab.com/onikolas/agl/platform"
    "gitlab.com/onikolas/agl/shaders"
    "gitlab.com/onikolas/agl/sprite"
    "gitlab.com/onikolas/math"
)

func panicOnError(e error) {
    if e != nil {
        panic(e)
    }
}

func main() {
    err := platform.InitializeWindow(238*6+5, 333*3+2, "demo", true, false)
    panicOnError(err)
    renderer := sprite.NewRenderer()
    renderer.SetBGColor([4]float32{0.1, 0.1, 0.1, 1})
    renderer.EnableBackFaceCulling()
    atlas, err := sprite.NewEmptyAtlas(3000, 2000)
    panicOnError(err)
    shader, err := shaders.NewDefaultShader()
    panicOnError(err)

    for {
    }
}
We begin by creating the application window using the
InitializeWindow function from the platform package. We
provide the window dimensions, a title, and whether the window should be
resizable and fullscreen. The window dimensions are set based on the
dimensions of the cards. Each card is
pixels and we will be showing
cards. We also add a pixel of space between each row and column.
Next, we create a renderer with sprite.NewRenderer().
This various structures needed for rendering and will also initialize
OpenGL as well.
Afterwards we create a sprite atlas. A sprite atlas is a specialized data structure for storing sprites and efficiently rendering them (see the sprite atlas tutorial to learn more). We specify the size of the atlas to be pixels. We will be storing 56 cards so we need a big atlas.
Our final piece of initialization is to create a shader. A shader is used to give the appearance of a sprite (shade it). For this demo we will use the most basic shader which simply colors the sprite exactly as it appears on the image.
Adding Sprites
We have a set of png images of common playing cards. You can download them here. Each image will be a sprite in our app and we need to load it into our sprite atlas.
To load a sprite we first use the helper function
sprite.RgbaFromFile to load the image from disk. Then, we
store the loaded image in the sprite atlas using
atlas.AddImage.
image := sprite.RgbaFromFile("cards/HEART-1.png")
atlas.AddImage(image)
To load all the images in our cards folder we use the os
package to get a list of filenames under that folder.
dirContents, err := os.ReadDir("cards/")
panicOnError(err)
imageFilenames := []string{}
for _, e := range dirContents {
    imageFilenames = append(imageFilenames, "cards/"+e.Name())
}
We then load all images.
images := []*image.RGBA{}
for i := range imageFilenames {
    img, err := sprite.RgbaFromFile(imageFilenames[i])
    panicOnError(err)
    images = append(images, img)
}
And pass these images to the atlas.
ids, err = atlas.AddImages(images)Atlas can load images one-by-one (using atlas.AddImage)
or all at once as we did above. Loading all at once is more efficient so
we prefer it whenever possible. We can examine what the atlas looks like
using atlas.DumpAtlas(). This will save an image called
atlas-image.png in the same folder where we run our
program.
Now our sprites are loaded in the application and we are ready to render. In a game, this process would be done during the level loading.
Rendering a Sprite
To render one of the sprites we have in our atlas we must create a
Sprite. Sprites in the atlas are identified with an id
which is a simple integer. When a sprite is added to the atlas with
atlas.AddImage, the function returns that sprite’s id.
spriteID, err := atlas.AddImage(someImage) When we add multiple images with atlas.AddImages we get
a list of ids. The order of the ids matches the order in which we added
the images to the atlas. Furthermore, the sprite ids are predictable.
The first sprite to be added to the atlas gets id=0, the second id=1 and
so on. When we loaded our card images to the atlas we used
os.ReadDir which lists files in alphabetical order1. Running ls -l cards/
lets us know that id=0 is the BACK card, id=1 is CLUB-1 and so on.
To create a sprite we need the sprite id, the atlas that it came from and a shader that will be used to shade the sprite:
club1Sprite, err := sprite.NewSprite(1, atlas, &shader, 1)We can modify many of the sprite’s parameters like its size, position and rotation. The default settings for the sprite would have it appear at position which is the lower-left of the application window. Lets set it somewhere near the center.
club1Sprite.SetPosition(math.Vector3[float32]{700, 500, 0})We can now render this sprite. We will first queue the sprite and
then call renderer.Render.
for {
    renderer.QueueRender(&club1Sprite)
    renderer.Render()
}
In a game we would be queuing all the active sprites in the level and then calling render once to draw all of them. We can now build the code and see our sprite!
Building
If you build this code (with go build) you will get
errors because the packages that we included have not been pulled to the
project. Go can pull git dependencies automatically by running:
go get -u -vYou will see that pulls a few other packages automatically. These are dependencies of the included packages. When the packages have been added you should be able to build the code. The first build triggers the compilation of the OpenGL library which is large and written in C so it might take a while. After you build the code once, compilation only processes Go code and should be much faster.
Running the demo should give you this:
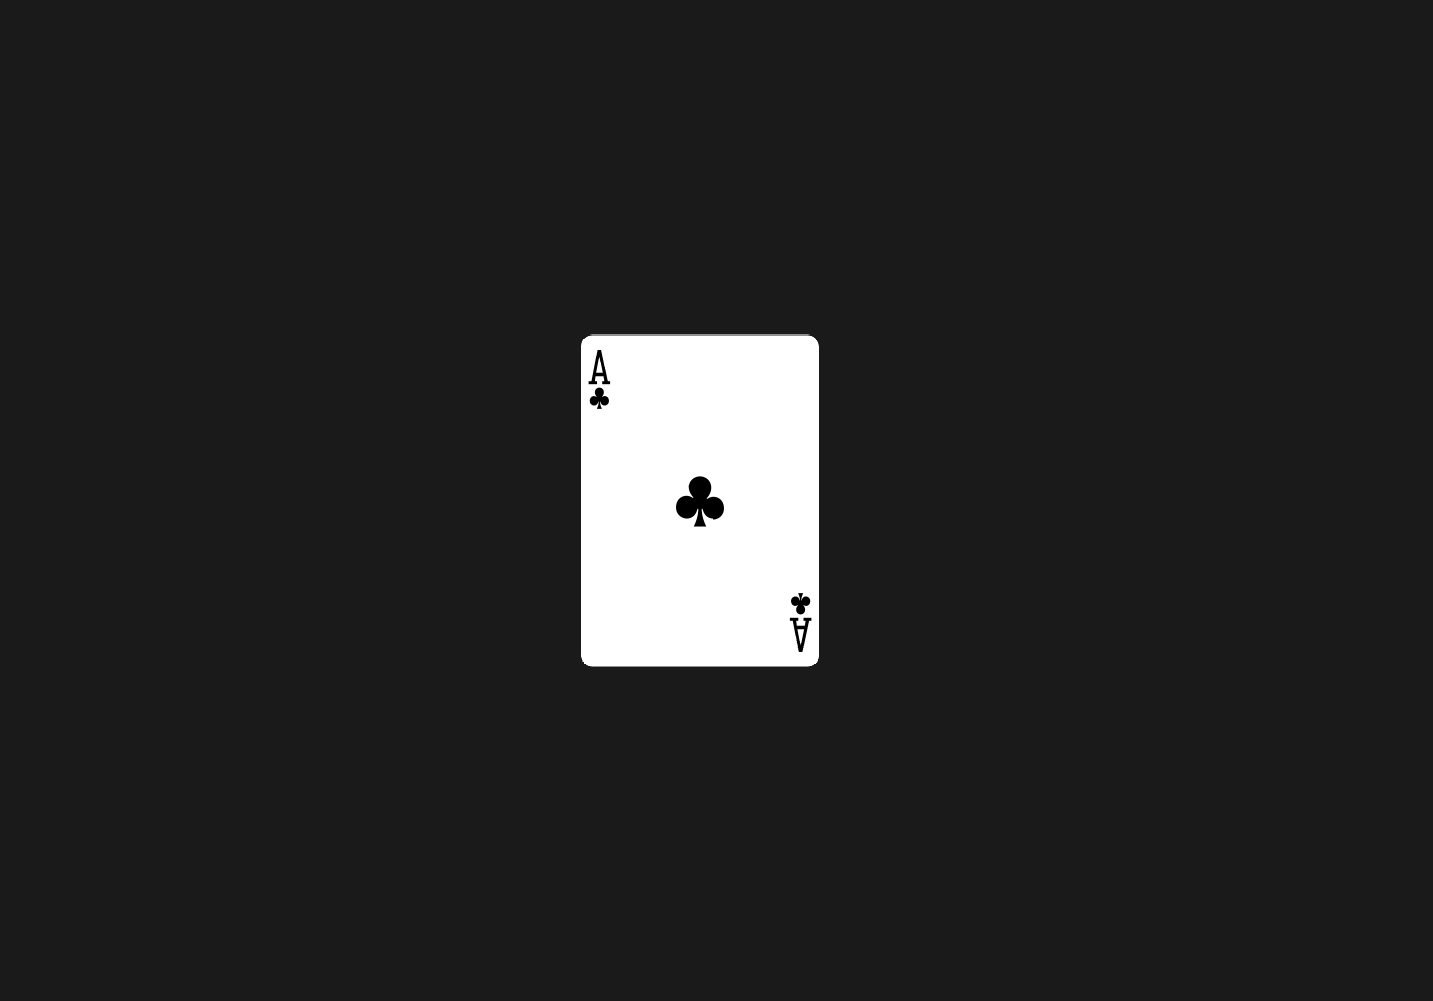
Ace!
Rotating Cards
To make a playing card we will create two sprites at the same
location and rotate one of them 180 degrees on the Y axis so that they
are facing in opposite directions. One of the sprites will be the card
back and the other sprite will be the card face. Lets define a
Card type to make this easier.
type Card struct {
    FrontSprite, BackSprite sprite.Sprite
    Rotating                bool
}
Cards are created with the NewCard function:
func NewCard(postition math.Vector3[float32], atlas *sprite.Atlas, shader *shaders.Shader) Card {
    back, _ := sprite.NewSprite(0, atlas, shader, 1)
    front, _ := sprite.NewSprite(rand.Int()%55+1, atlas, shader, 1)
    card := Card{
        FrontSprite: front,
        BackSprite:  back,
        Rotating:    false,
    }
    card.FrontSprite.SetPosition(postition)
    card.BackSprite.SetPosition(postition)
    card.FrontSprite.SetRotation(math.Vector3[float32]{0, 3.14159, 0})
    return card
}
The function creates two sprites, one for each face of the card.
BackSprite always gets id=0 and FrontSprite
gets a random id in the range
.
Both sprites are moved to the position passed in the
position parameter.
Cards are rotated by calling their Update method. On
every call to Update there is a one in a thousand chance
for the card to start rotating. Update gets called multiple times per
second so cards start rotating all the time.
func (c *Card) Update() {
    if c.Rotating {
        rotation := c.FrontSprite.GetRotation()
        c.FrontSprite.SetRotation(rotation.Add(math.Vector3[float32]{0, 0.01, 0}))
        rotation = c.BackSprite.GetRotation()
        c.BackSprite.SetRotation(rotation.Add(math.Vector3[float32]{0, 0.01, 0}))

        // at 360 degrees reset the card
        if math.Equals[float32](rotation.Y, 2*3.14159, 0.02) {
            c.Rotating = false
            c.BackSprite.SetRotation(math.Vector3[float32]{0, 0, 0})
            c.FrontSprite.SetRotation(math.Vector3[float32]{0, 3.14159, 0})
            c.FrontSprite.SetIndex(rand.Int()%55 + 1)
        }
    } else {
        if rand.Int()%1000 < 1 {
            c.Rotating = true
        }
    }
}
Once a card is set to rotate, we continually increase its Y rotation until it completes a 360 degree rotation. At this point we stop rotating, and change the front sprite to some other face randomly.
Creating Multiple Sprites
In our main function we will create a grid of cards. We begin by grabbing the card size.
cardSize := math.Vector2ConvertType[int, float32](atlas.GetBoundingBox(0).Size())We know this size by opening one of the cards in an image editor but
we add this here to show how it can be done in code. We then loop 18
times and create cards. We start placing the first card at the
bottom-left of the screen. Since our sprites are centered at their
middle, we offset the first sprite by half it’s size. We then continue
to add sprites, each time placing the spite at cardSize.X+1
distance from the previous one.
cards := []Card{}
pos := math.Vector3[float32]{cardSize.X / 2, cardSize.Y / 2, 0}
screenBox := renderer.GetScreenBoundingBox()
for i := 0; i < 18; i++ {
    card := NewCard(pos, atlas, &shader)
    cards = append(cards, card)
    pos = pos.Add(math.Vector3[float32]{cardSize.X + 1, 0, 0})
    if pos.X > screenBox.P2.X {
        pos.X = cardSize.X / 2
        pos.Y += cardSize.Y + 1
    }
}
If we reach the end of the window we increase the Y coordinate by
cardSize.Y+1 and reset 8 back to the left side. This
process fills the whole window with cards.
Rendering
Rendering the cards is straightforward. We loop over all cards and
call the card.Update() method to update each card. This
might cause it to start rotating, continue to rotate it if its already
in motion or reset if it completed a full rotation. We then queue both
the back and front sprites to be rendered.
for {
    for i := range cards {
        cards[i].Update()
        renderer.QueueRender(&cards[i].BackSprite)
        renderer.QueueRender(&cards[i].FrontSprite)
    }
    renderer.Render()
    time.Sleep(time.Millisecond * 10)
}
At any point only one of the sprites will actually render for each card. We enforce this by setting the renderer option:
renderer.EnableBackFaceCulling()This makes it so that the backs of our sprites never show. Alternatively, we could check the Y rotation value of each sprite and decide which one to queue at each update. This exercise is left to the reader.
Further Work
This concludes our demo. Feel free to play around with it. Here are some ideas to try out (from easy to hard):
- The cards are pngs you can edit in any image editing program. Change them to something more interesting.
- ‘Deal’ the cards by moving them from outside the view (e.g. from position -500,-500) to their on-screen location.
- Draw 5 cards in a line at the center of the window and 2 cards at each screen edge to give the appearance of a poker game.
- Simulate a poker game.
Tested on Linux. On other OS it might behave differently.↩︎